IMPORTANT: This article applies to the following Mac OS X versions:
- Mac OS 10.10 (Yosemite)
- Mac OS 10.9 (Mavericks)
- Mac OS 10.8 (Mountain Lion)
- Mac OS 10.7 (Lion)
- Mac OS 10.6 (Snow Leopard)
Need Help?
It is important to keep the following in mind when formatting Mac OS Extended (Journaled):
- It is required when using Time Machine for the operating systems listed earlier
- Mac OS Extended (Journaled) does not work natively with Windows. If you need to go between macOS and Windows format your drive ExFAT on macOS
Looking for a different formatting option?
IMPORTANT: Reformatting the drive will erase all data on the drive, so you should copy any data you want off the drive prior to formatting.
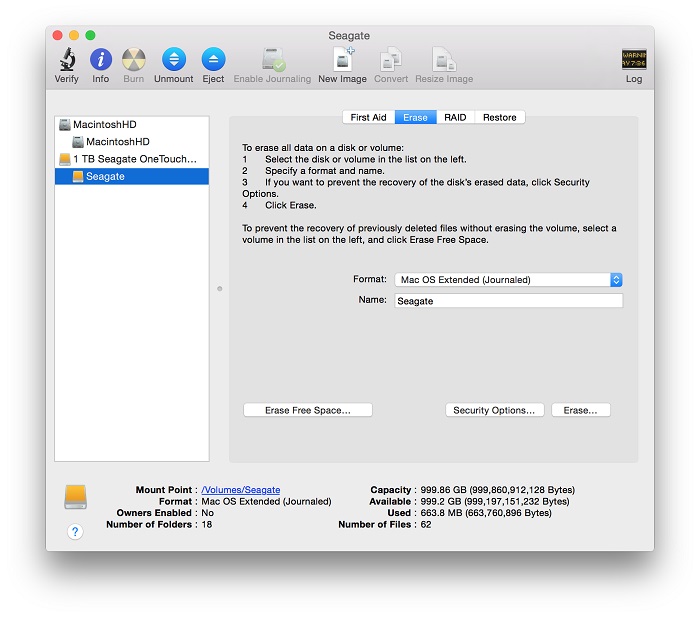
- Open Disk Utility
To open Disk Utility - Open Finder > Applications > Utilities > Disk Utility
- Select the drive on the left showing the capacity
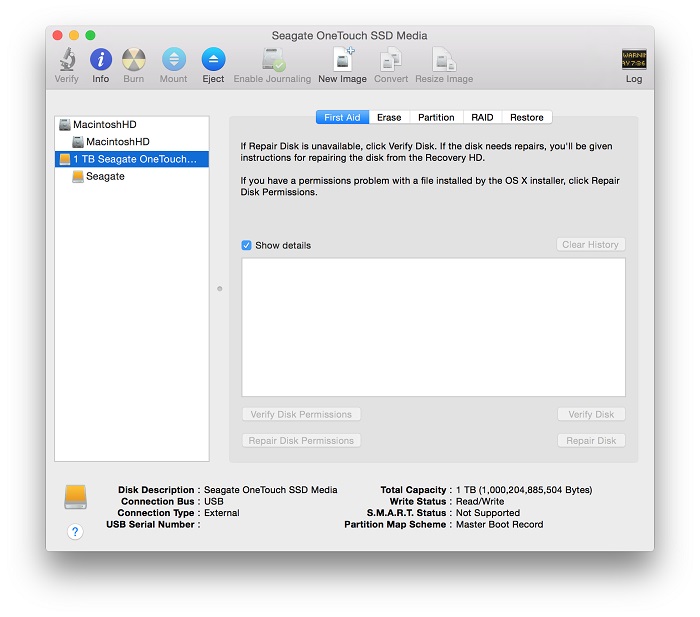
- Select the Partition tab on the right-hand side of the window
NOTE: If you don't see the Partition tab then the volume is selected, not the drive

- Under Partition Layout, select 1 Partition
- Provide a Name for the volume
- Set Format to Mac OS Extended (Journaled)
- Click the Options button and select GUID Partition Table
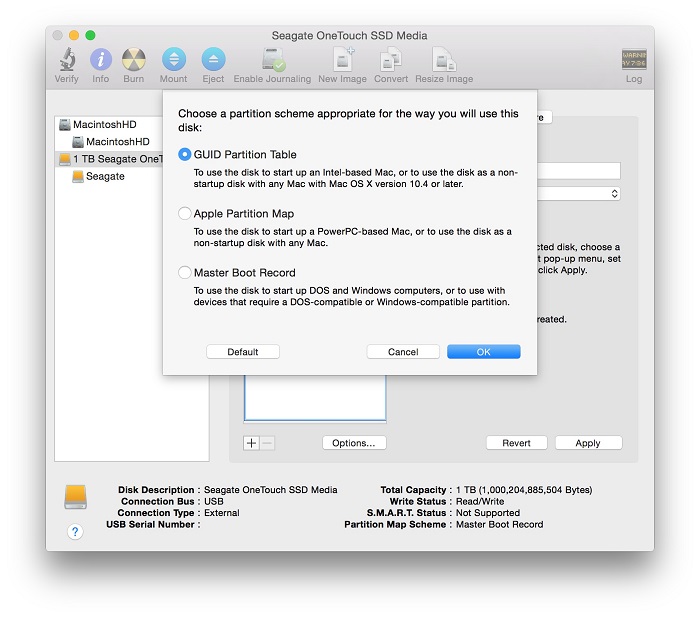
- Click OK
- Click Apply - the following will be displayed
IMPORTANT: Reformatting the drive will erase all data on the drive, so you should copy any data you want off the drive prior to formatting.
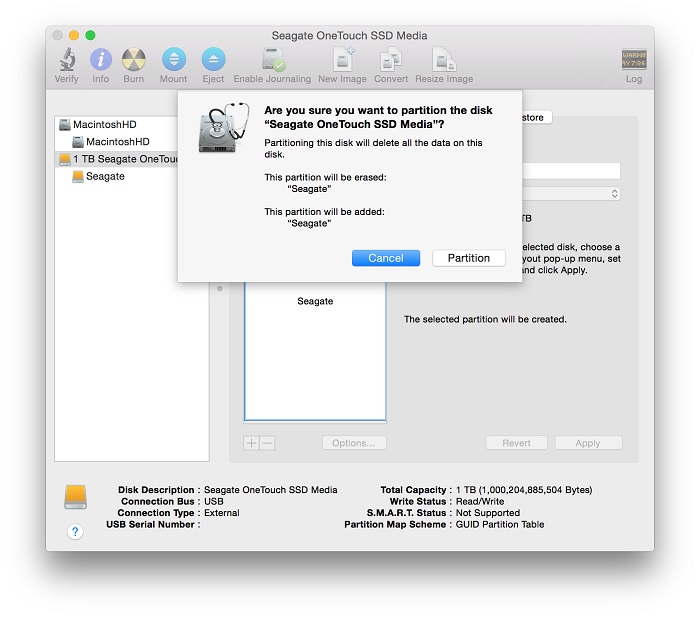
- Click Partition to finish the process
- The drive should now be formatted Mac OS Extended (Journaled) and can be confirmed by selecting the indented entry which will now show Mac OS Extended (Journaled) at the bottom of Disk Utility