Twitter Facebook Google Plus Linked in
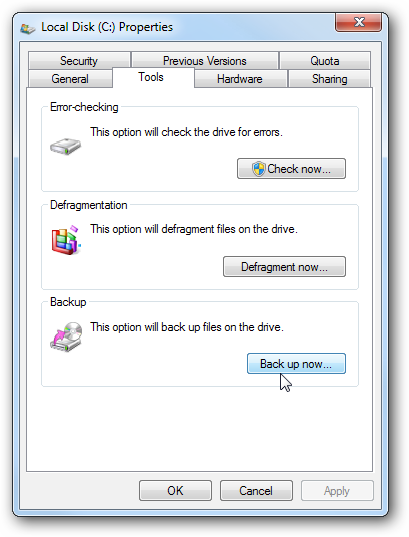
1. Right click on your local disk, for example (C:), and select Properties.
2. Select the Tools tab then click Back up now...
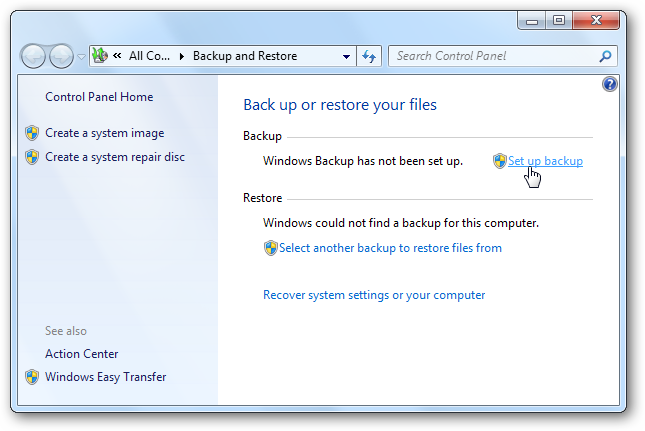
3. In the Back up or restore your files window, click the link Set up backup.
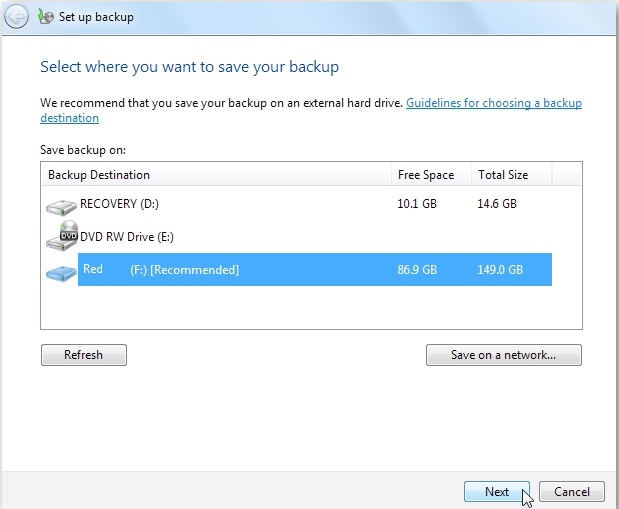
4. Windows will search for volumes to store the backup. Click Save on a network... and select your Cloudbox user folder. You will be prompted to enter your user name and password.
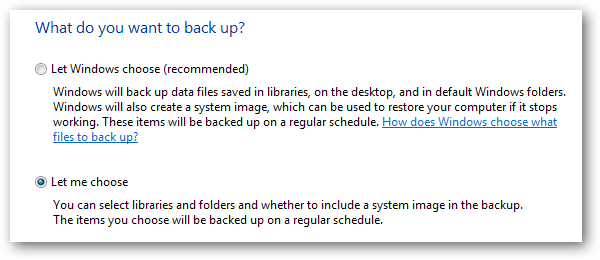
5. You may use the Windows default (Let Windows choose) or manually select the files (Let me choose) to backup to the CloudBox user folder.
Note on the Windows default backup: The following files will not be included in the backup: Program files; anything formatted with the FAT file system; files in the Recycle Bin; and any temp files that are 1GB or more.
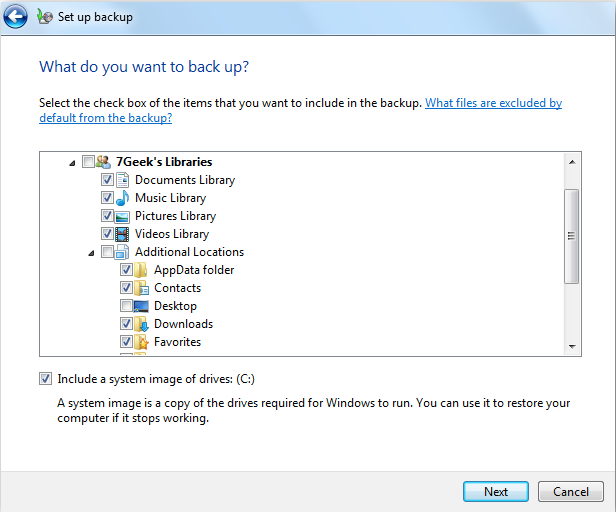
6. (Skip this step if you selected Let Windows choose). Select the files and folders to include in the backup. You may also check the box to create an image of your local drive. Click Next.
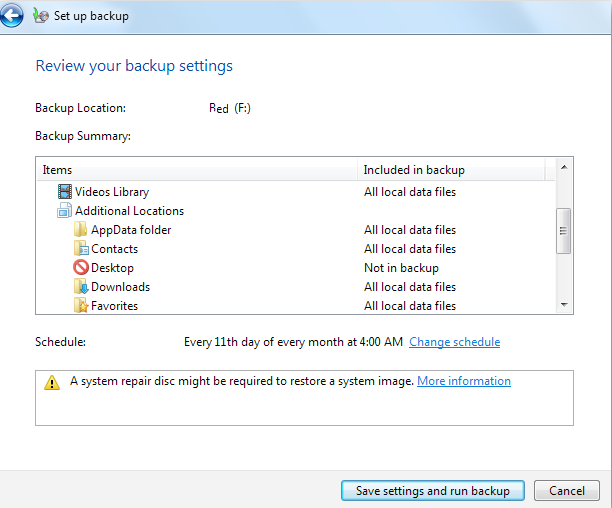
7. Review the list of files marked for backup. Click on the link Change schedule to set the time for the backup.
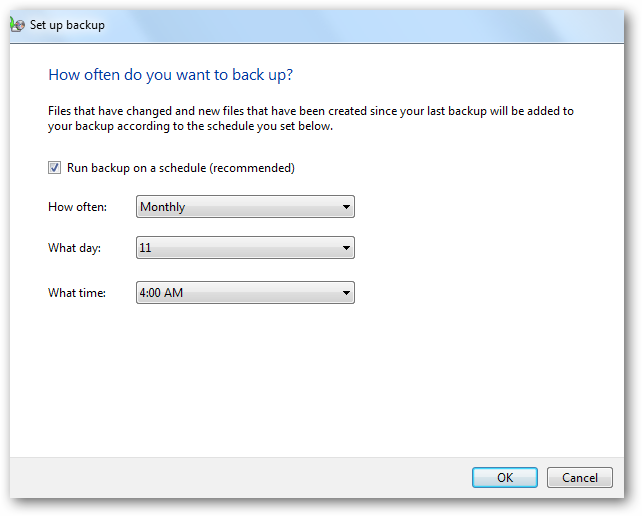
8. Choose how often, the day, and the time of your backup using the pulldown menus. Click OK.
9. Click Save settings and run backup.
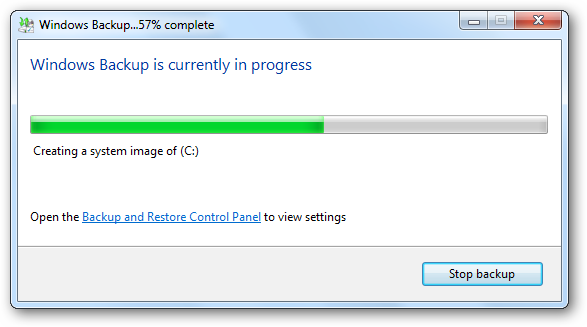
10. The backup can be monitored while it is running.
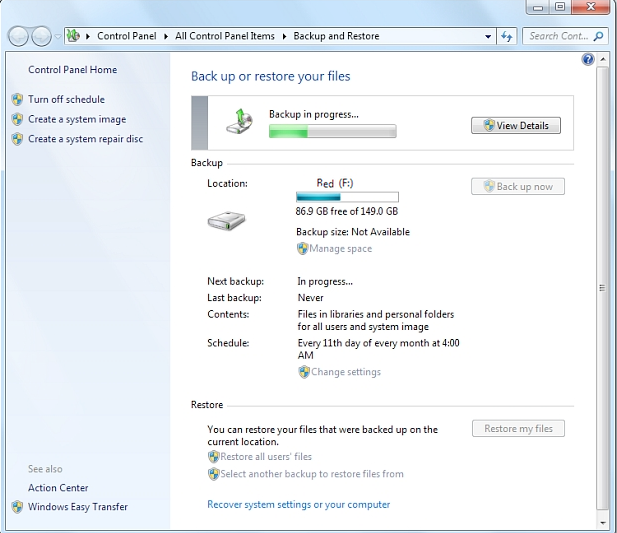
11. Click on the View Details button to see the file names as they are backed up.
12. Once the backup is complete, the backup files and/or image folder will appear in a window prompt.
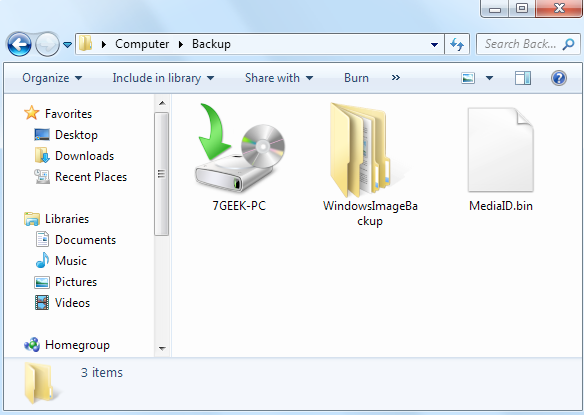
13. Click Close to leave the backup. In the future, you can restore a backup or manage the space it uses by double clicking on its icon. See the next section, Restore files from a Backup.
Restore files from a Backup
You can restore a backup stored on the CloudBox user folder.
1. Launch the Windows Backup and Restore application.
2. Go to the Backup and Restore Center to select Restore my files.
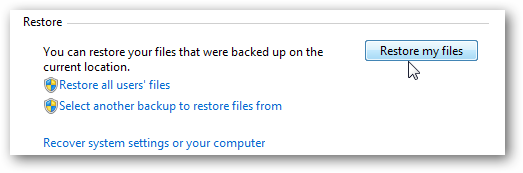
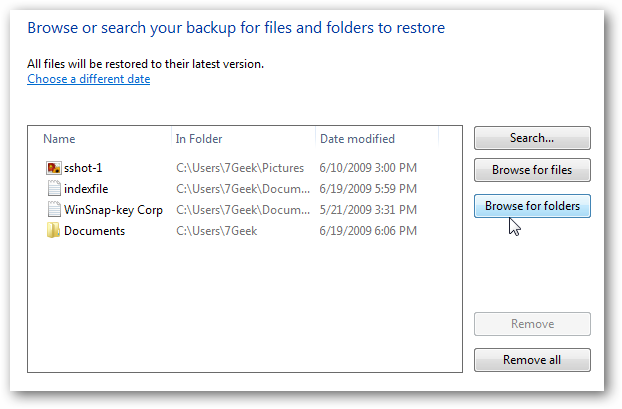
3. Select files and/or folders to restore.
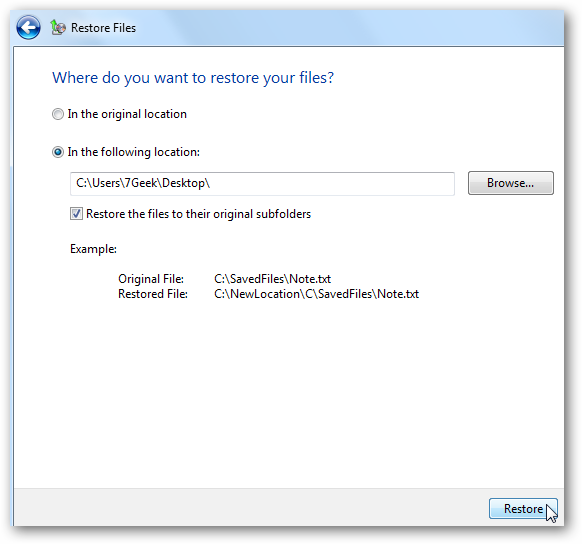
4. Click Restore to restore the files to their original location or choose an alternate target. Click Restore.
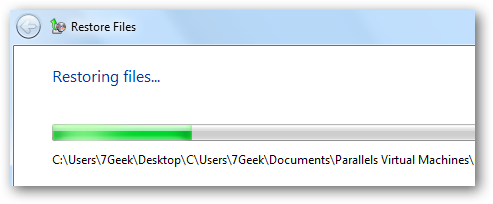
5. The time for the restore to finish depends upon the total amount data and the target location. For example, tens of gigabytes copied to a USB 2.0 disk may take several hours.
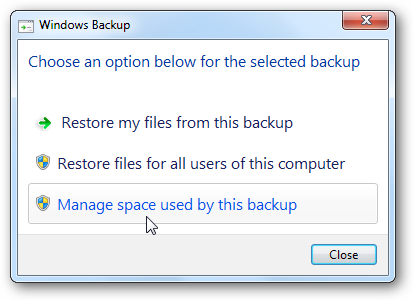
Manage Backup Size
You can manage the number of backups to conserve disk space on the CloudBox.
1. Launch the Windows Backup and Restore application.
2. From Backup and Restore, click the Manage Space link.
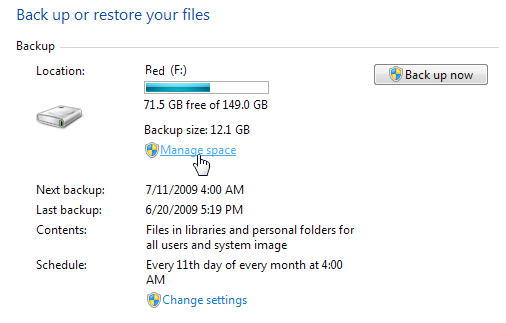
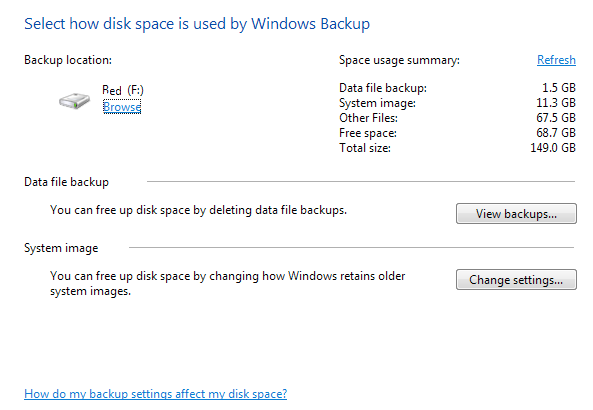
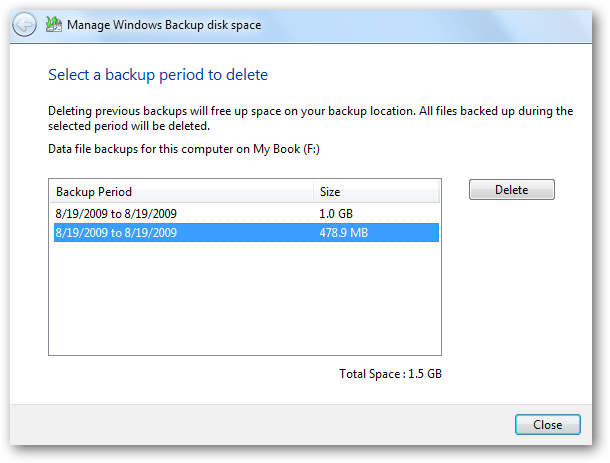
3. A prompt will display the backup location and the amount of disk space used by a backup. Click on the View backups... button.
4. Check the backup dates to determine if older versions can be deleted. Once you have selected and deleted backups, click Close.
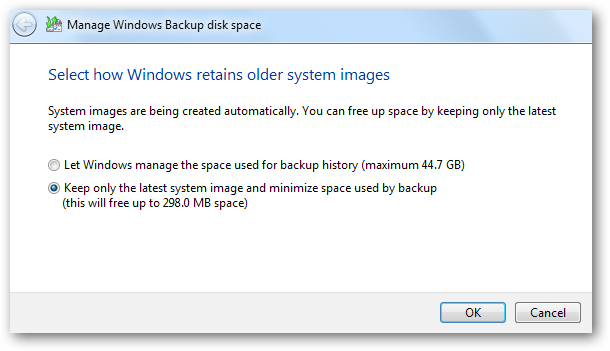
5. To change how Windows Backup and Restore retains older system images, click on the Change settings... button.
6. Choose to have Windows manage the space or retain the last system image. Click OK.