Was this content helpful?
How could we make this article more helpful?
Getting Connected
Follow the setup steps in the order they are given to ensure that your LaCie hard drive's volume mounts correctly on your computer. By default, the hard drive is formatted for Mac (HFS+ journaled).
Windows and LaCie Bolt 3
Since LaCie Bolt 3 is preconfigured for Mac, Windows users must clean the hard drives when first connecting the device to the computer. Directions to clean the hard drives can be found after the steps for getting connected.
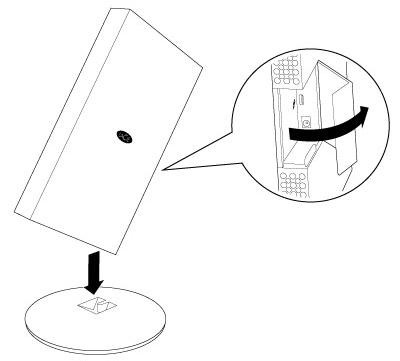
STEP 1 - Connect to the base and open the port protector
Place LaCie Bolt 3 on its base. Make certain to carefully align the ends of Bolt 3’s stand with the landing points on the base. The magnetic ends allow for an easy connection.
Once it is in place, gently open the port protector and keep it ajar for the next steps.
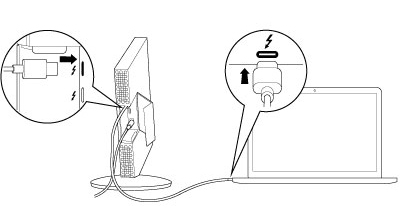
STEP 2 - Connect the power supply
Connect the power supply to a wall outlet and to the hard drive.
Only use the power supply provided with your device. Attaching third-party or other LaCie power cables with incorrect voltage can damage Bolt 3.

STEP 3 - Connect the Thunderbolt 3 (USB-C) cable
Before connecting LaCie Bolt 3, confirm the USB-C port on your computer features the Thunderbolt icon. The Thunderbolt icon indicates that the USB-C port is compatible with Thunderbolt 3.
Your LaCie Bolt 3 is shipped with one Thunderbolt 3 cable (see LED Indicator and Cables). Connect the cable to the Thunderbolt 3 port on the back of LaCie Bolt 3 and to the Thunderbolt 3 port on your computer.
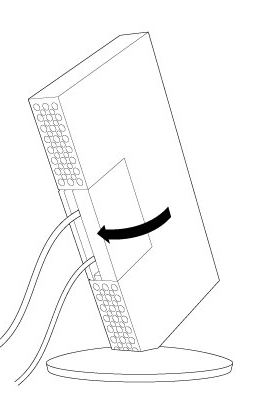
STEP 4 – Close the port protector
Gently close the port protector.
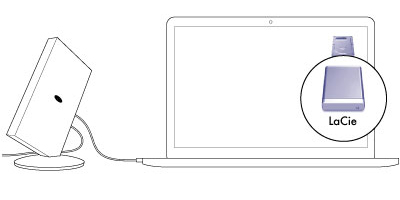
STEP 5 - LaCie partition (Mac only)
Mac: The hard drive partition LaCie mounts on your desktop and is ready to use. You can open the partition to install LaCie Private-Public for data encryption and Intego for computer backup to Bolt 3.
Windows: A pop-up window asks if you want to format the volume. Close the pop-up window and refer to the steps below.
Windows: Clean the hard drives
Since the hard drive is formatted for Mac (Journaled HFS+), all partitions must be erased, including the EFI partition. Windows Disk Management cannot erase the EFI partition so you must run Diskpart, a separate Windows utility. For additional information, see Windows Diskpart.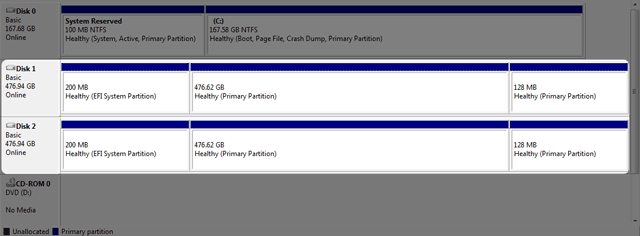
The steps below are illustrated using a standard hard drive enclosure with two hard drives. The images may not represent your product.
Diskpart deletes all information from any hard drive that you select. Therefore, to avoid deleting data on other devices, disconnect all external hard drives from your PC except LaCie Bolt 3.
Diskpart cannot delete the System disk.
- Connect the LaCie product to your Windows PC using the included Thunderbolt 3 cable.
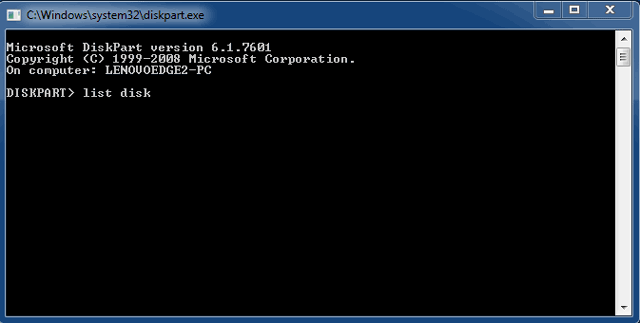
- Search for and launch Diskpart.

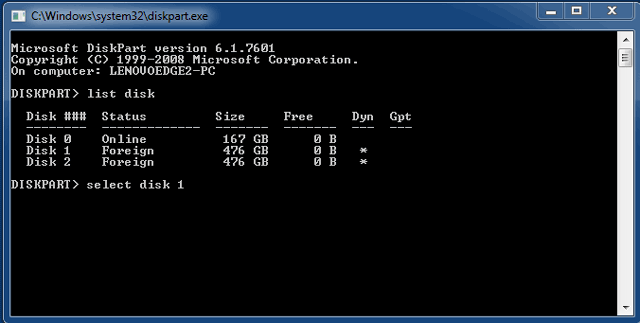
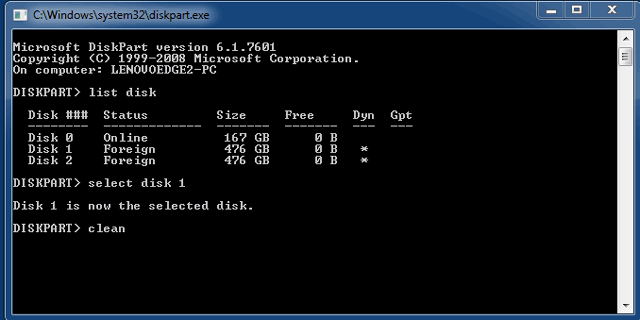
- In the Diskpart prompt, type list disk.
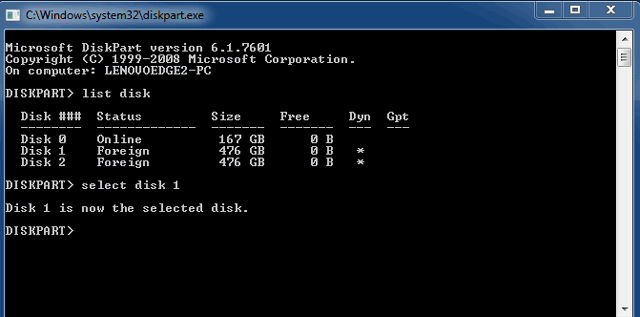
- Make certain to locate the disk number for LaCie Bolt 3 then type select disk n. n is the number for the first LaCie hard drive (1 in the screenshot below). If you are uncertain of the disk number for LaCie Bolt 3, launch Disk Management. You should see the number assigned to LaCie Bolt 3.
- Diskpart confirms that your hard disk has been selected.
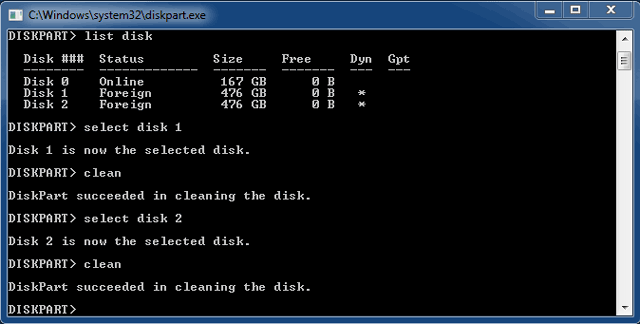
- To delete all partitions on the hard disk, type clean.
- Diskpart confirms that your hard disk is clean, meaning that the partitions have been deleted.
LaCie Bolt 3 is ready to be formatted for your operating system. See Optional formatting and partitioning for instructions.