Twitter Facebook Google Plus Linked in
This article provides instructions to initialize, partition and format a new drive and instructions to reformat a drive on Windows.
The instructions provided in this article applies to Windows versions 7, 8/8.1 and 10.
Warning! Formatting erases all data on the drive. So, if you are formatting a drive that has already been used, be sure to copy any files you will ever want to see again onto a computer or backup drive.
Note: If you would prefer a video tutorial of these steps instead, please click the thumbnail below.
To open the Disk Management press and hold the Windows key + R

In the run box type diskmgmt.msc then click OK
Note: If you are prompted for an administrator password or confirmation, type the password or provide confirmation
Right-click on the disk then select Initialize Disk
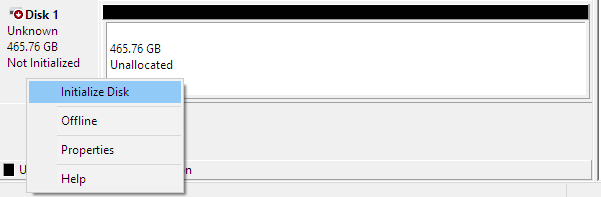
MBR for drives under 2TB
GPT for drives over 2TB
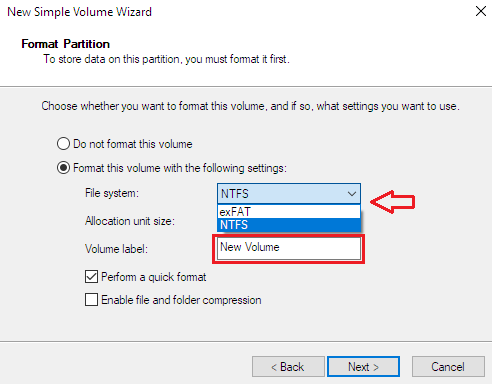
Right-click the Unallocated box, and select New Simple Volume
Click Next at the following prompts:
Choose a File system
Use NTFS if:
…you connect the storage device to Windows computers, and you don’t need to allow a Mac to write to the storage device.
Use exFAT if:
…you need to allow both Mac and Windows computers to read and write to the storage device.
You may customize the name of your drive by typing in the Volume Label field
To open the Disk Management press and hold the Windows key + R
In the run box type diskmgmt.msc then click OK
Note: If you are prompted for an administrator password or confirmation, type the password or provide confirmation
Right-click the Partition box, and select Format
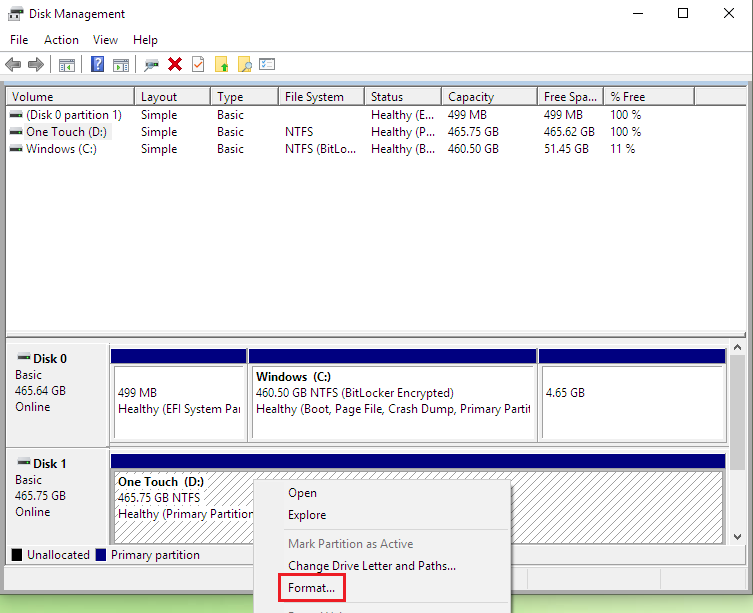
The format prompt opens
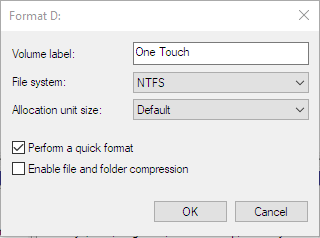
Use NTFS if:
…you connect the storage device to Windows computers, and you don’t need to allow a Mac to write to the storage device.
Use exFAT if:
…you need to allow both Mac and Windows computers to read and write to the storage device.


Click the X button to close the Disk Management
If the drive was previously formatted for Mac, Disk Management will list three partitions, one of them is called "Health (EFI System Partition)", a protected partition which you will not be able to delete.
To delete this partition, you have to use Microsoft Diskpart Erase utility.
The following steps provides instructions to determine the disk number assigned to your drive and instructions to Erase/Clean your drive using the Microsoft Diskpart Erase Utility.
Before proceeding, it’s recommended to disconnect any other drive from your computer. This will prevent erasing a wrong drive and will help determine the disk number assigned to the drive you want to Erase/Clean.
Press and hold the Windows key + R
Type diskmgmt.msc in the run box field then click OK
The image below represents how a drive formatted for Mac is listed in Disk Management and it also shows the assigned disk number of the drive

Take a note of the disc number.
Warnings!
Diskpart Erase/Clean will permanently erase/destroy all data on the selected drive. Please make certain that you are erasing the correct disk.
Remove all additional drives from the computer excluding the drive you want to Erase/Clean.
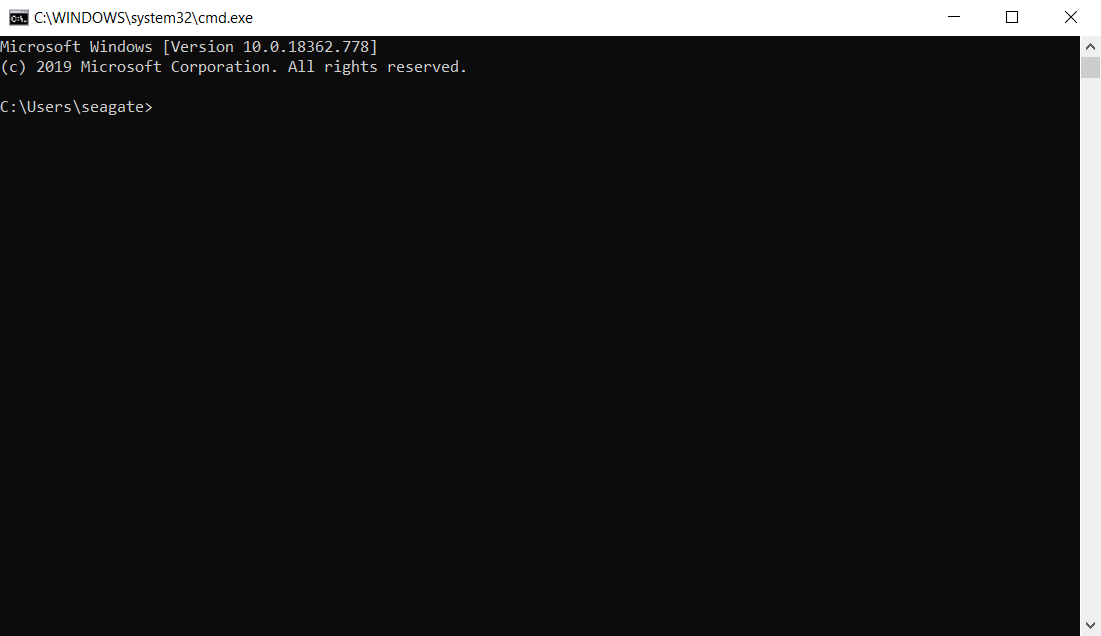
To open the Command Prompt press and hold the Windows key + R
In the run box type cmd then click OK
Note: If you are prompted for an administrator password or confirmation, type the password or provide confirmation
The Command Prompt window opens
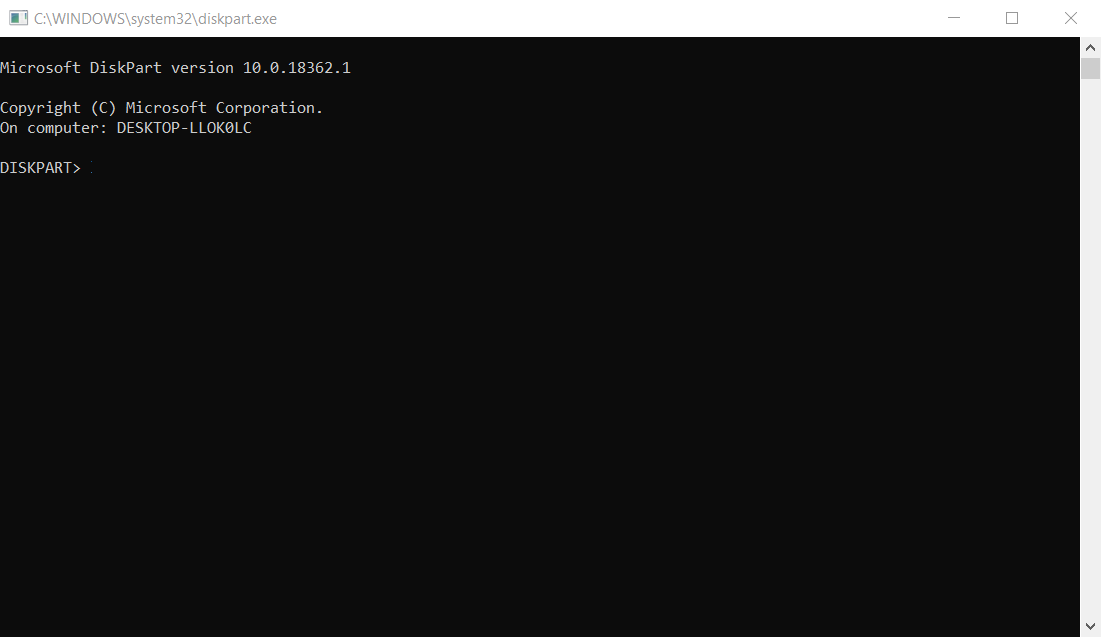
Type diskpart then press Enter > the diskpart prompt opens
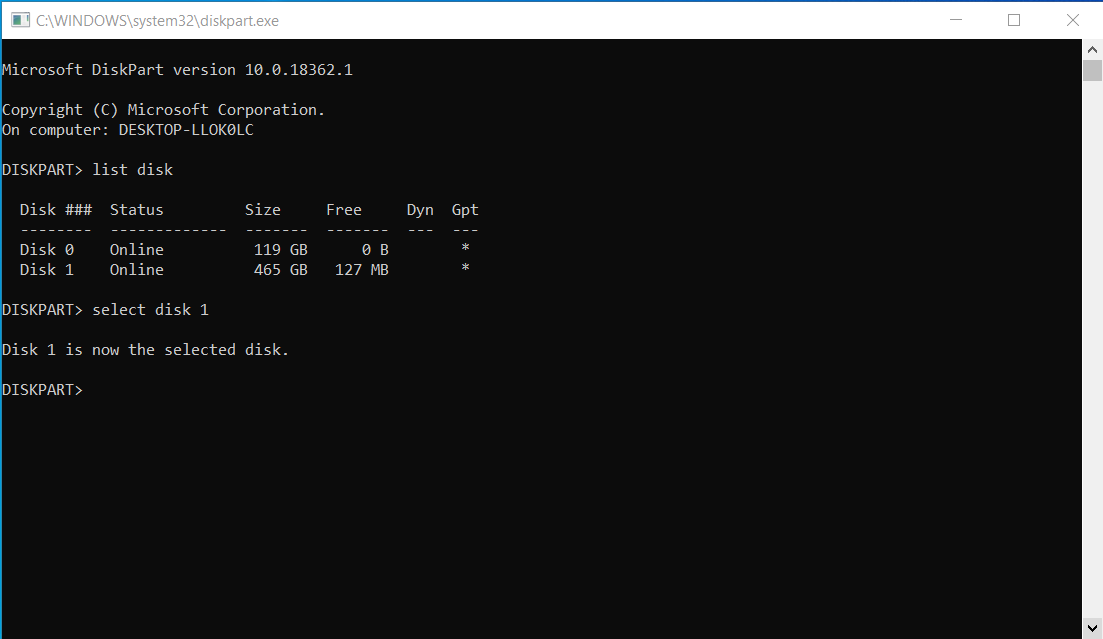
Type list disk then press Enter
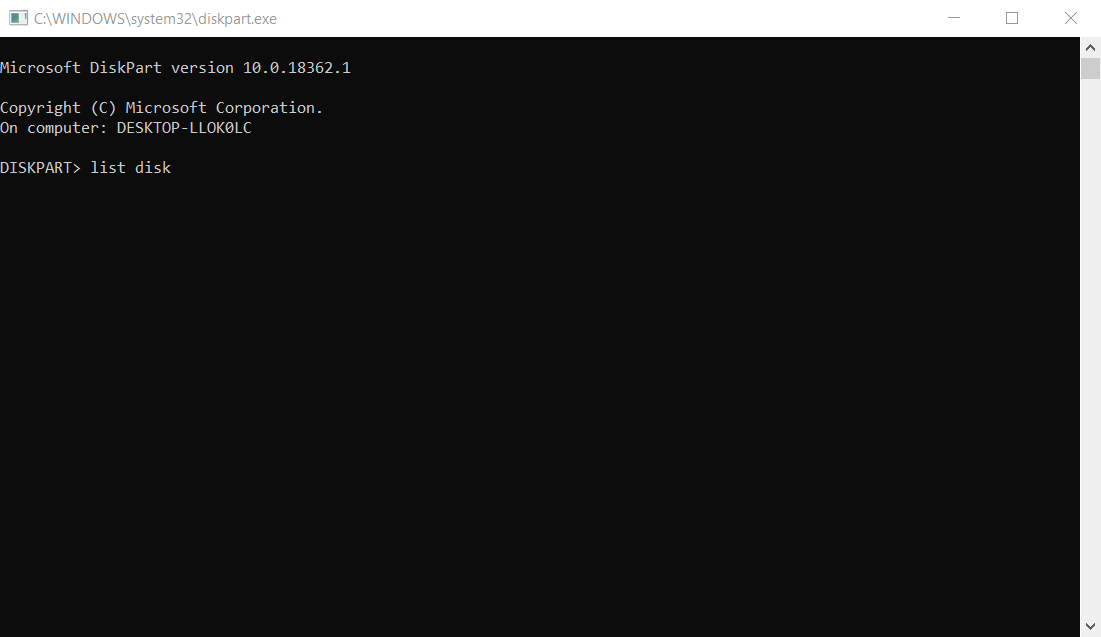
A list of disks is displayed

Type select disk X (replace the letter X with the disk number assigned to your drive)
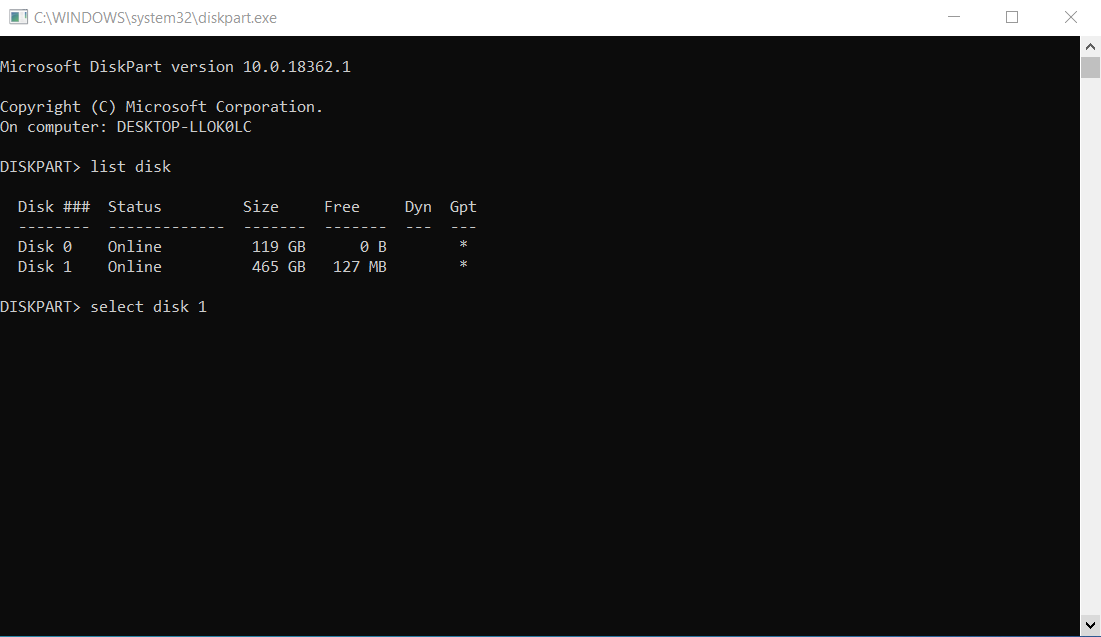
The Command Prompt displays the message “Disk 1 is the selected disk. “
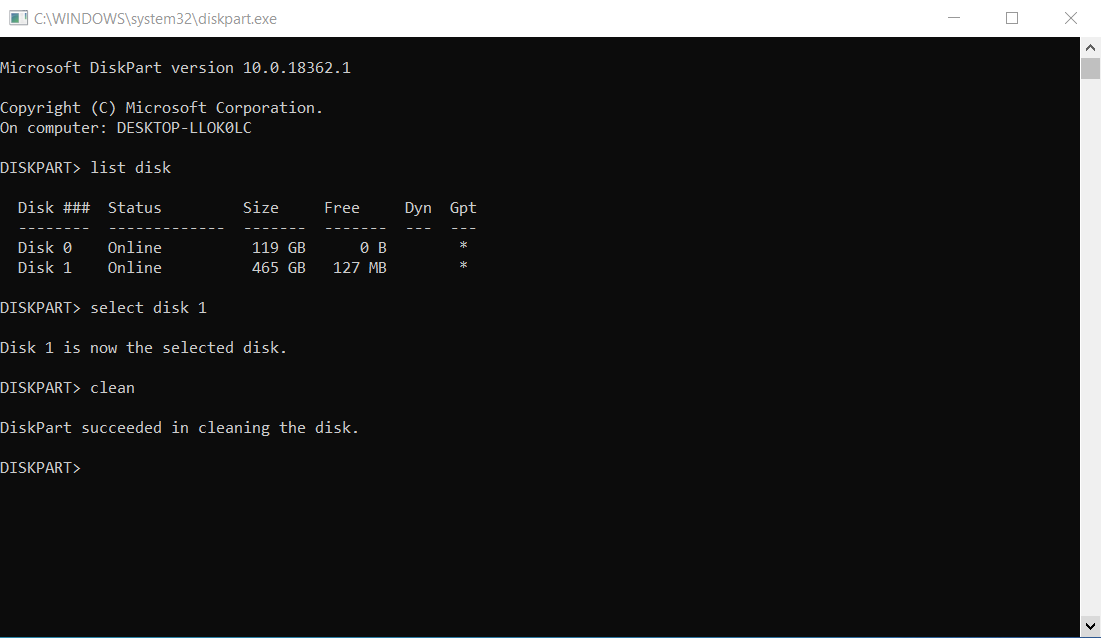
Type clean then press Enter
The Command Prompt displays the message ”DiskPart succeeded in cleaning the disk”
Click the X button to close the Command Prompt
Now the drive can be initialized, partitioned and formatted by following the instructions under the section - Formatting a New drive on Windows.
For additional information, please visit the Microsoft Support Knowledge Base.
For instructions on how to format your hard drive on a Mac, please reference the following links: